
Happy Tuesday! Time for another tip of the week.
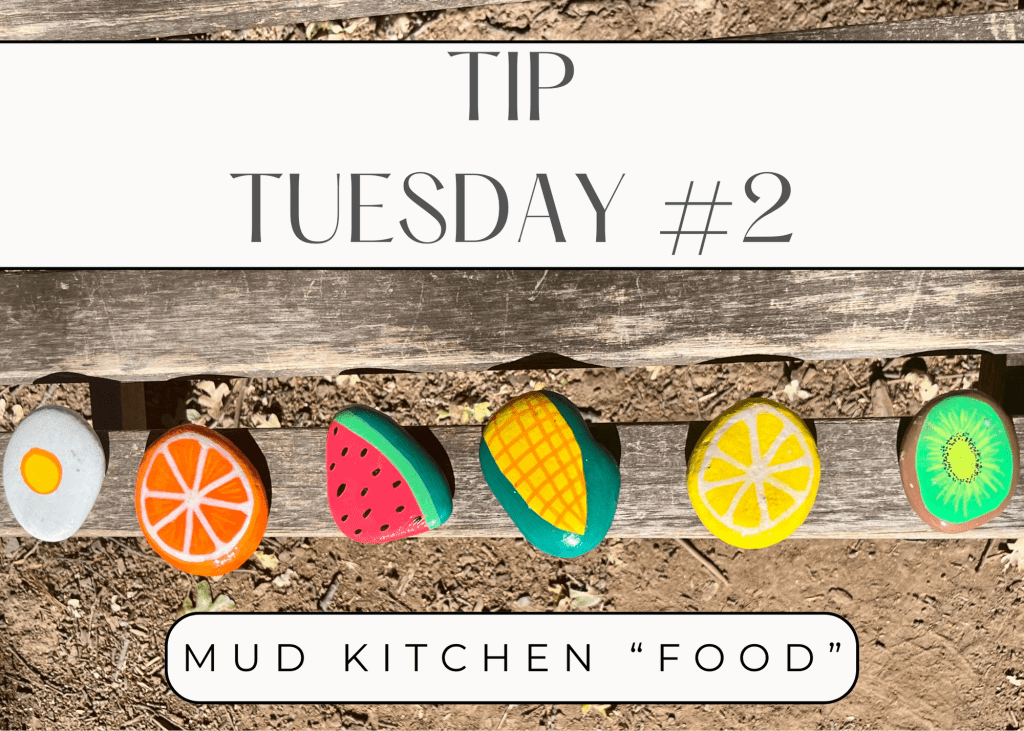
If you have a kiddo who loves playing outside or especially with any sort of a “mud kitchen”, these painted rocks are the thing to make!
It’s so fun to hunt for rocks everywhere you go that stand out to you as something that could be a different food item! We have found a couple naturally that I have painted for food items
However– here’s a secret…….. I bought smooth flat rocks off Amazon to paint all the ones in the picture 🤫
When it comes down to it, your kids don’t care where you got them. It may save money to find them naturally, but I saved a ton of time just buying them. As my father in law says, “time is money.”
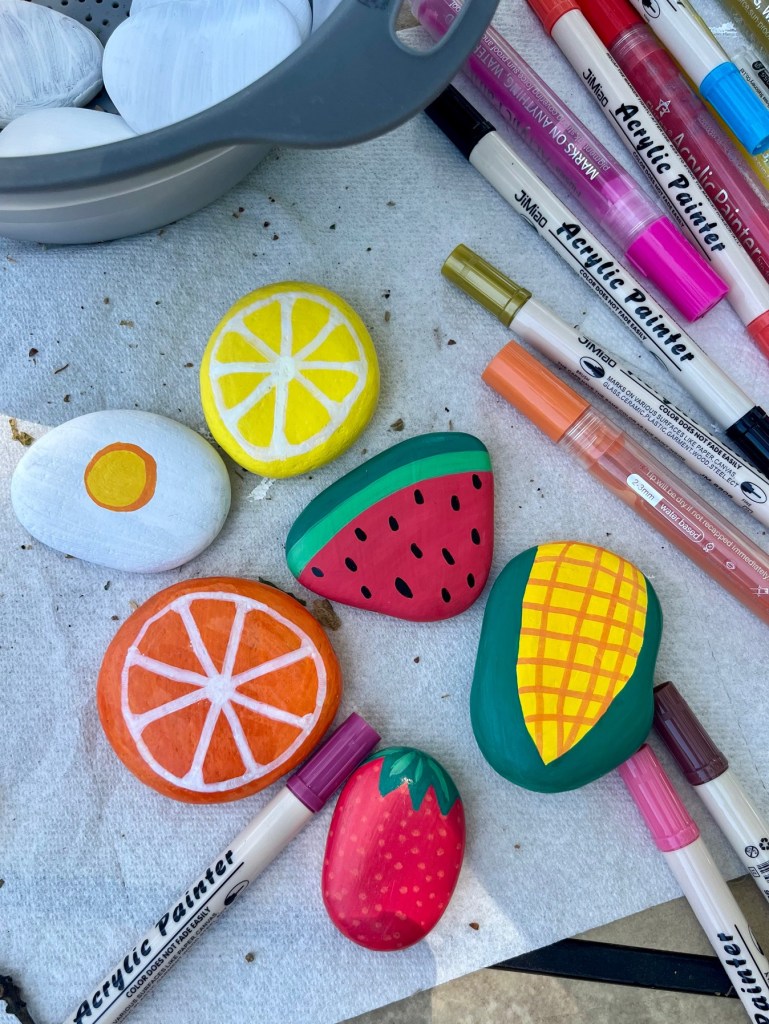
Here are the steps I took to paint these:
- Washed rocks with soap and water
- Painted each rock completely white to have a neutral base to start with
- Painted one side with acrylic paint pens, let dry
- Flipped over and painted other side with paint pens
- Once dry, painted one side with modge podge, left to dry
- Flipped over and painted last side with modge podge and left to dry.
As you can see, it’s a lot of “waiting to dry”.
These rocks get played with every day! Logan has not tried to actually “eat” any of them, but he does pretend!
Sadly, with the crazy heat we have had (10 days of over 105 straight!) some of the paint has begun to melt! They were left out in the sun….. so maybe don’t do that.


Leave a comment